Skip to product information
1 of 1

bluejayexclusive

Scorpio Door visor

Scorpio Door visor

Regular price Rs. 2,150.00
Regular price Sale price Rs. 2,150.00
Sale Sold out
Shipping calculated at checkout.

Product description & features

A **door visor**, also known as a **rain guard** or **wind deflector**, is an accessory attached to a vehicle's windows, usually on the top edges of the doors. Door visors serve multiple practical and aesthetic purposes. Here’s a detailed description: ###

 Features and Benefits:

  1. **Weather Protection**: - Door visors allow drivers and passengers to keep the windows slightly open during rain, preventing water from entering the cabin. - They help reduce window fogging by allowing ventilation in wet weather, keeping the cabin comfortable and fresh.
  2.  **Wind Deflection**: - Door visors deflect wind when the windows are slightly open, reducing noise and allowing air circulation without letting strong gusts into the vehicle. - They also reduce turbulence, especially helpful when driving at higher speeds, improving comfort for passengers.
  3.   **Sun and Heat Reduction**: - Visors help block direct sunlight from entering through the window, reducing glare and heat inside the cabin. - By allowing windows to be open slightly, they help regulate interior temperatures, especially on hot days.
  4.   **Aesthetic Enhancement**: - Door visors add a sleek, sporty look to the vehicle, enhancing its overall appearance. - They are available in different tints and styles to match the car's color and design.
  5.   **Easy Installation and Durability**: - Made from durable materials like acrylic or ABS plastic, door visors are designed to withstand varying weather conditions. - Many are attached with double-sided tape, clips, or adhesive, allowing for a straightforward, secure installation without drilling.
  6. **Reduction of Dust Entry**: - When driving in dusty areas, visors allow slight ventilation without letting in significant amounts of dust, keeping the cabin cleaner. Overall, door visors are a useful and stylish accessory that provide added comfort and functionality, making them a popular choice for all types of vehicles.

Installation guide:


  • Measuring tape or ruler - Masking tape (optional, for alignment) - Scissors or a utility knife (optional, for trimming tape) ###
  • Step 1: **Clean the Installation Area** - Use alcohol wipes or a clean cloth with rubbing alcohol to clean the upper door frame area where the visor will be attached. - This will remove any dirt, grease, or residue, ensuring that the adhesive sticks properly. ###
  • Step 2: **Test Fit the Visors** - Hold each door visor up to the intended location and check for fit and alignment. - Make sure the visor aligns with the door frame and does not interfere with the door or window operation. - If needed, use masking tape to temporarily hold the visor in place to see its final position. ###
  •  Step 3: **Apply Adhesion Promoter (if provided)** - Some kits come with an adhesion promoter, which improves the adhesive strength. Apply this to the cleaned area on the door frame as directed in the kit. ###
  • Step 4: **Peel Back Adhesive Tape** - Most visors come with pre-applied double-sided adhesive tape. - Carefully peel back a small portion of the backing from the adhesive strip on the visor, leaving most of the backing in place for easier handling. ###
  • Step 5: **Position and Attach the Visor** - Align the visor with the door frame. - Once aligned, press the exposed adhesive area lightly onto the door frame, holding the visor in place. - Gradually peel away the remaining adhesive backing while pressing the visor onto the frame. Work from one end to the other, pressing firmly to ensure a secure bond. ### Step 6: **Secure and Press Firmly** - After positioning, apply even pressure along the entire visor to ensure the adhesive is securely attached. - Press and hold for 30-60 seconds along the adhesive strip to reinforce the bond. ###
  • Step 7: **Repeat for All Doors** - Follow the same steps to install visors on the other doors. ###
  • Step 8: **Allow Adhesive to Set** - Avoid washing the car or exposing it to extreme moisture for at least 24-48 hours. This allows the adhesive to cure fully for maximum durability. ### Optional: **Trim Excess Tape (if needed)** - If any adhesive tape is visible, you can trim it carefully with scissors or a utility knife. After following these steps, your door visors should be securely installed and ready to use. They’ll provide added protection and style, enhancing your driving experience in various weather conditions.
  • High Quality
  • Easy Return
  • Fast Delivery
View full details

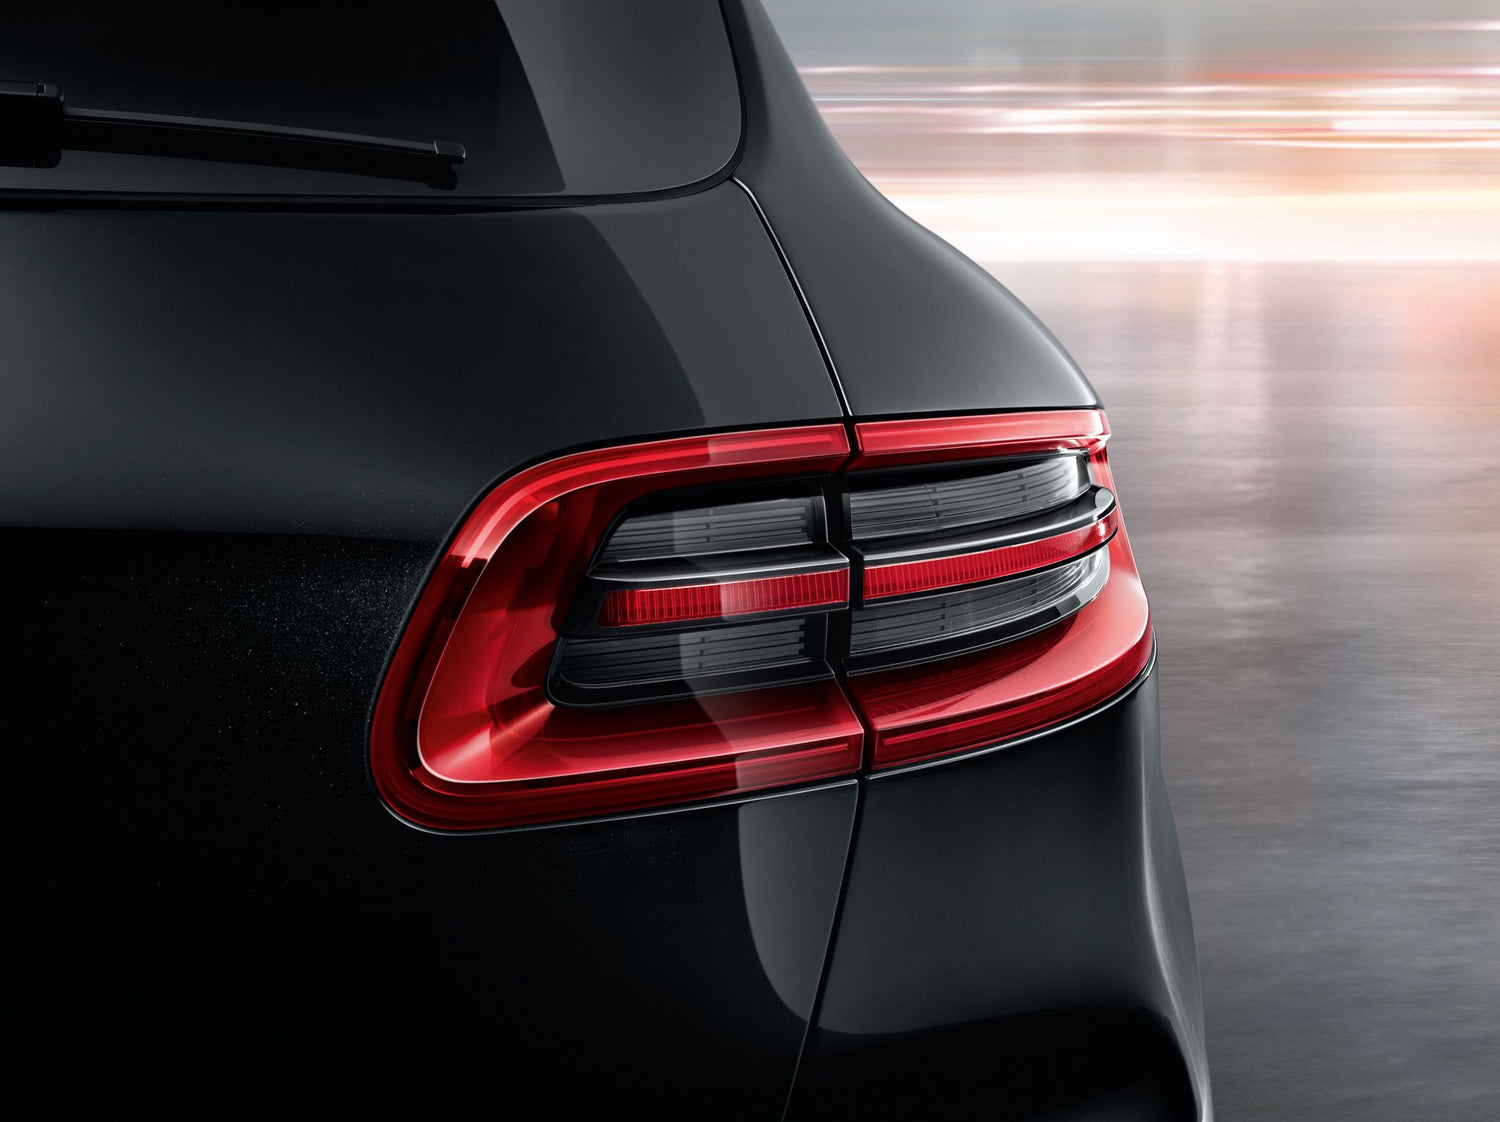
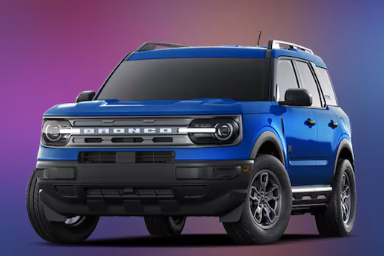
Car Parts So Durable, Even Your Grandkids Might Inherit Them!

High-quality, durable car parts built to last for years—so reliable, even your grandkids might still use them!

Learn More

Drive Forever, Worry Never!

FAQs

We offer a wide range of car parts, including exterior accessories, performance upgrades, interior enhancements, and essential replacements for almost all car models.

Absolutely! Our products are made from high-quality, durable materials to ensure long-lasting performance and reliability for your vehicle.

Yes! Many of our products come with a manufacturer’s warranty. Please check the specific product details for warranty coverage.

We offer fast and reliable shipping! Delivery typically takes 3-7 business days, depending on your location.

No worries! We have a hassle-free return and exchange policy. Contact our support team for assistance with returns.